Build Your First Workflow
This guide walks you through creating a simple AI workflow from scratch — a flow that takes a text input and uses an AI model to summarize it.
What you'll build: Start → AI Agent → End
Prerequisites:
- An Apptor Flow account
- At least one AI Provider integration configured (see UI Guide: Integrations)
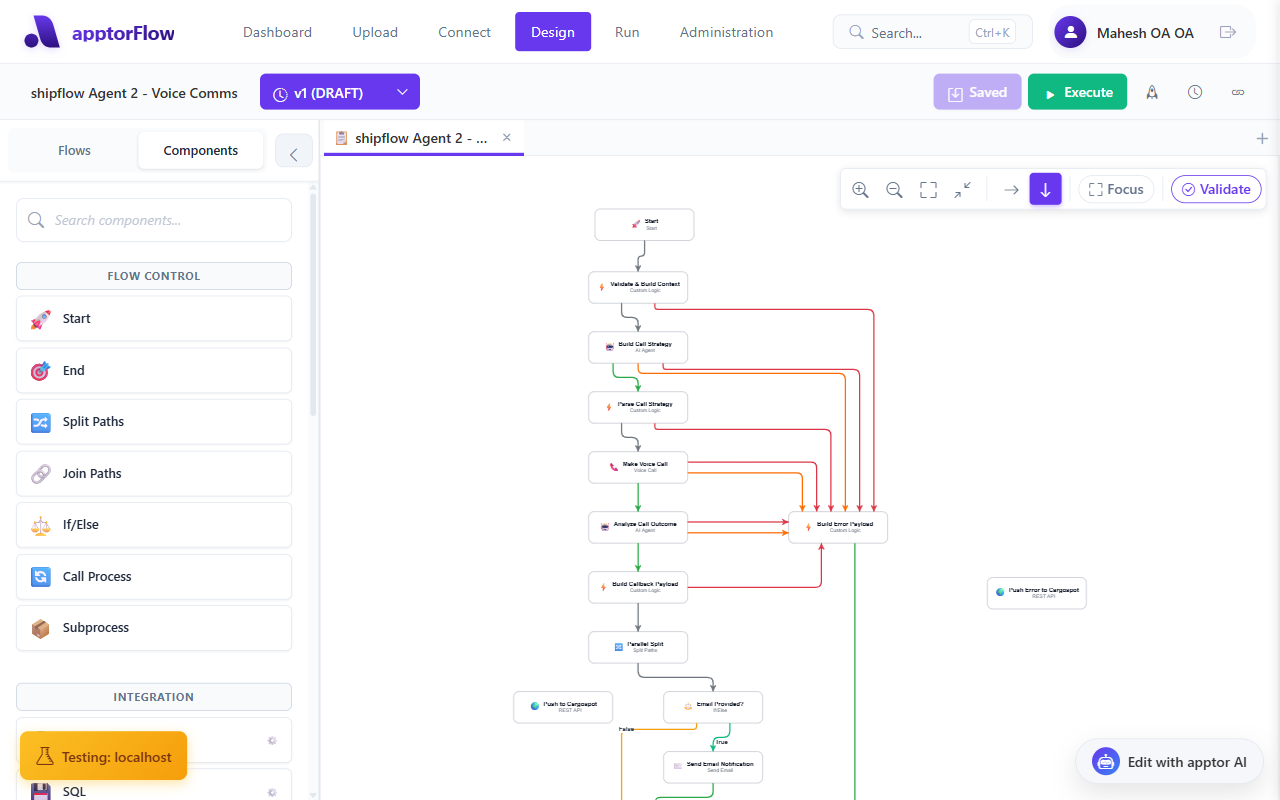
Step 1: Open the Designer
Click Design in the top navigation bar. You'll land on the workflow designer with a fresh canvas.
If you already have flows listed in the Flows tab on the left sidebar, click Add Flow to create a new one.
Step 2: Name Your Flow
With nothing selected on the canvas, the right panel shows Flow Settings.
Under Basic Settings:
- Click the Flow Name field
- Type:
My First AI Workflow
The name also appears in the top bar — you can click it there to rename as well.
Step 3: Add a Flow Variable
Still in Flow Settings, expand the Flow Variables section (labeled "Shared Variables").
Click Add Variable and fill in:
| Field | Value |
|---|---|
| Variable Name | userInput |
| Default Value | What is the capital of France? |
| Data Type | string |
This variable will hold the text you want the AI to answer. You'll pass it in when you run the flow.
Step 4: Add the Start Node
Click the Components tab in the left sidebar to open the node palette.
Under Flow Control, find the Start node (🚀). Drag it onto the canvas and drop it on the left side.
The Start node has no configuration — it's simply the entry point of your flow.
Step 5: Add the AI Agent Node
In the AI category of the Components tab, find AI Agent (🤖). Drag it onto the canvas to the right of the Start node.
Click the AI Agent node to select it. The right panel switches to Step Settings, showing the AI Agent configuration fields.
Fill in the following:
AI Provider Integration (required)
- Select your configured AI provider from the dropdown (e.g., OpenAI).
- If no providers appear, go to Connect in the top nav to add one first.
System Prompt (optional)
- Enter:
You are a helpful assistant. Answer the user's question concisely.
Prompt (required)
- Enter:
{userInput}
Variable syntax: Use
{varName}(curly braces, no dollar sign) to reference flow variables in node properties. The{userInput}above will be replaced with the variable's value at runtime.
Leave all other fields at their defaults.
Step 6: Add the End Node
From the Flow Control category, drag an End node (🎯) onto the canvas to the right of the AI Agent node.
The End node has no configuration.
Step 7: Connect the Nodes
Hover over the Start node until small connection handles appear on its edges.
- Click and drag from the right handle of Start to the AI Agent node — release to create the connection.
- Click and drag from the right handle of AI Agent to the End node — release to create the connection.
Both connections will appear as gray arrows (standard sequence flow).
Your canvas should now show: Start → AI Agent → End
Step 8: Save the Flow
Press Ctrl+S (or click the Save button in the top bar). The button changes to "Saved" when there are no unsaved changes.
Tip: The Execute button stays disabled until the flow is saved.
Step 9: Run the Flow
Click the green Execute button in the top toolbar.
Because your flow has the userInput variable defined, an input dialog appears:
| Field | What to enter |
|---|---|
userInput | What is the capital of France? |
Click Execute in the dialog.
The Execution Console opens at the bottom of the Designer showing live logs:
Starting execution of workflow: My First AI WorkflowProcess instance created: {instanceId}- Log lines from each node as it runs
Step 10: View the Results
After execution completes, navigate to Run in the top navigation bar to see the process instance.
Select your workflow in the PROCESS dropdown on the left, then click the instance in the list.
The detail panel shows:
- Overview tab — status (Completed), version, start time, duration
- Nodes tab — shows Start Event, AI Agent, and End Event each with status "Completed"
- Variables tab — shows
userInputand the AI's response (stored inresultby default)
The AI Agent's output is stored in the result variable. You can reference it in subsequent nodes using {result}.
What's Next
Now that you have a working flow, you can extend it:
- Add a Set Variable node between AI Agent and End to extract parts of the AI response into named variables (e.g.,
{result.summary}if the AI returns JSON) - Add an If/Else node to branch based on the AI's answer
- Add a Send Email node to deliver the result to someone
- Set up a trigger so the flow runs automatically — see Set Up Triggers
- Add more input fields by adding more flow variables and referencing them in prompts